Introduction
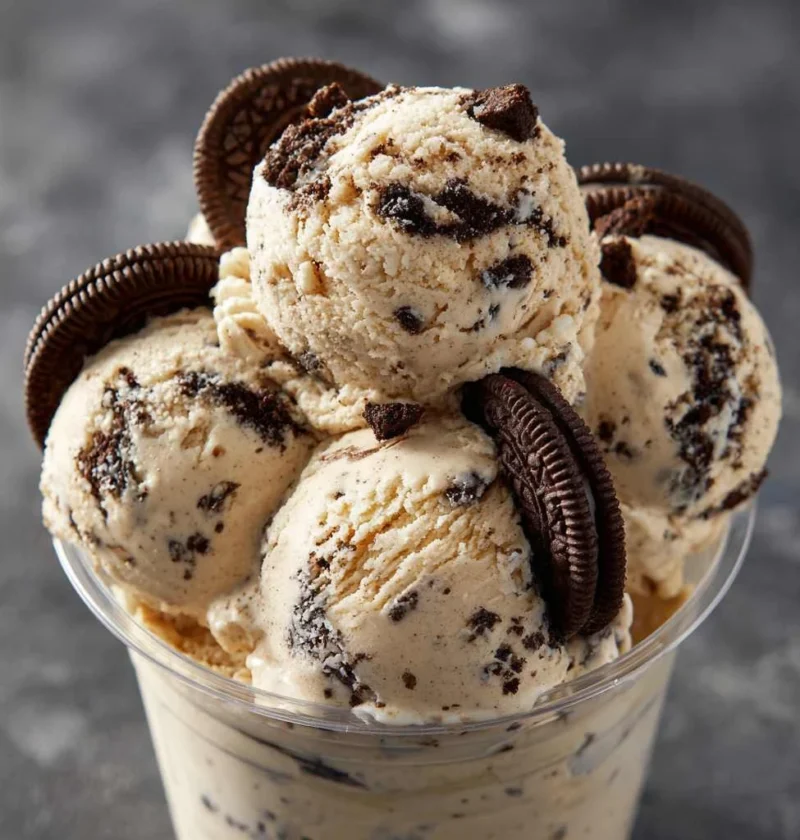
Imagine a delightful summer day with the sun shining brightly and a gentle breeze in the air. The perfect treat to complement such a day is a heavenly combination of Oreo cookies and creamy vanilla ice cream. This classic dessert brings together the rich, chocolatey crunch of Oreos with the smooth, sweet essence of vanilla, creating a flavor explosion that is simply irresistible.
As you embark on the journey of making Oreo vanilla ice cream, you will discover the joy of creating a timeless indulgence that is loved by people of all ages. Whether you are hosting a backyard barbecue, celebrating a special occasion, or simply craving a decadent dessert, this recipe is sure to satisfy your sweet tooth and leave you craving for more.
Not only is Oreo vanilla ice cream a delicious treat, but it also holds a special place in the hearts of many, evoking memories of childhood summers and carefree moments spent with loved ones. This recipe is more than just a dessert; it is a nostalgic journey that brings comfort and happiness with every spoonful.
Join us as we delve into the world of Oreo vanilla ice cream, exploring its origins, uncovering the secrets to its delectable taste, and guiding you through the step-by-step process of creating your own batch of this frozen delight.
Why You’ll Love This Recipe
What sets this Oreo vanilla ice cream apart is its perfect balance of flavors and textures. The crunchy Oreo cookies add a delightful contrast to the creamy vanilla base, creating a symphony of taste in every bite. This recipe combines simplicity with indulgence, making it a go-to dessert for any occasion.
Furthermore, this homemade Oreo vanilla ice cream allows you to customize the sweetness level and Oreo-to-ice-cream ratio according to your preferences. You have full control over the ingredients, ensuring a fresh and high-quality dessert that is free from artificial additives and preservatives.
For those with dietary concerns, this recipe can easily be adapted to accommodate various dietary restrictions. Whether you are vegan, lactose intolerant, or following a gluten-free diet, there are options to tailor this recipe to suit your needs without compromising on taste.
Indulge in a guilt-free dessert experience with this Oreo vanilla ice cream recipe that promises a delightful treat without the guilt of store-bought alternatives. Treat yourself to a scoop of homemade goodness that is sure to impress your friends and family.
Ingredients
For this delectable Oreo vanilla ice cream, you will need the following ingredients:
– 2 cups heavy cream
– 1 cup whole milk
– 3/4 cup granulated sugar
– 1 tablespoon pure vanilla extract
– 12 Oreo cookies, crushed
Optional: Feel free to substitute whole milk with almond milk for a dairy-free version or use coconut sugar for a refined sugar-free alternative.
Step-by-Step Instructions
1. In a mixing bowl, whisk together the heavy cream, whole milk, sugar, and vanilla extract until the sugar is completely dissolved.
2. Pour the mixture into an ice cream maker and churn according to the manufacturer’s instructions until it reaches a soft-serve consistency.
3. Add the crushed Oreo cookies to the ice cream during the last few minutes of churning, allowing them to mix evenly into the base.
4. Transfer the ice cream to a lidded container and freeze for at least 4 hours or until firm.
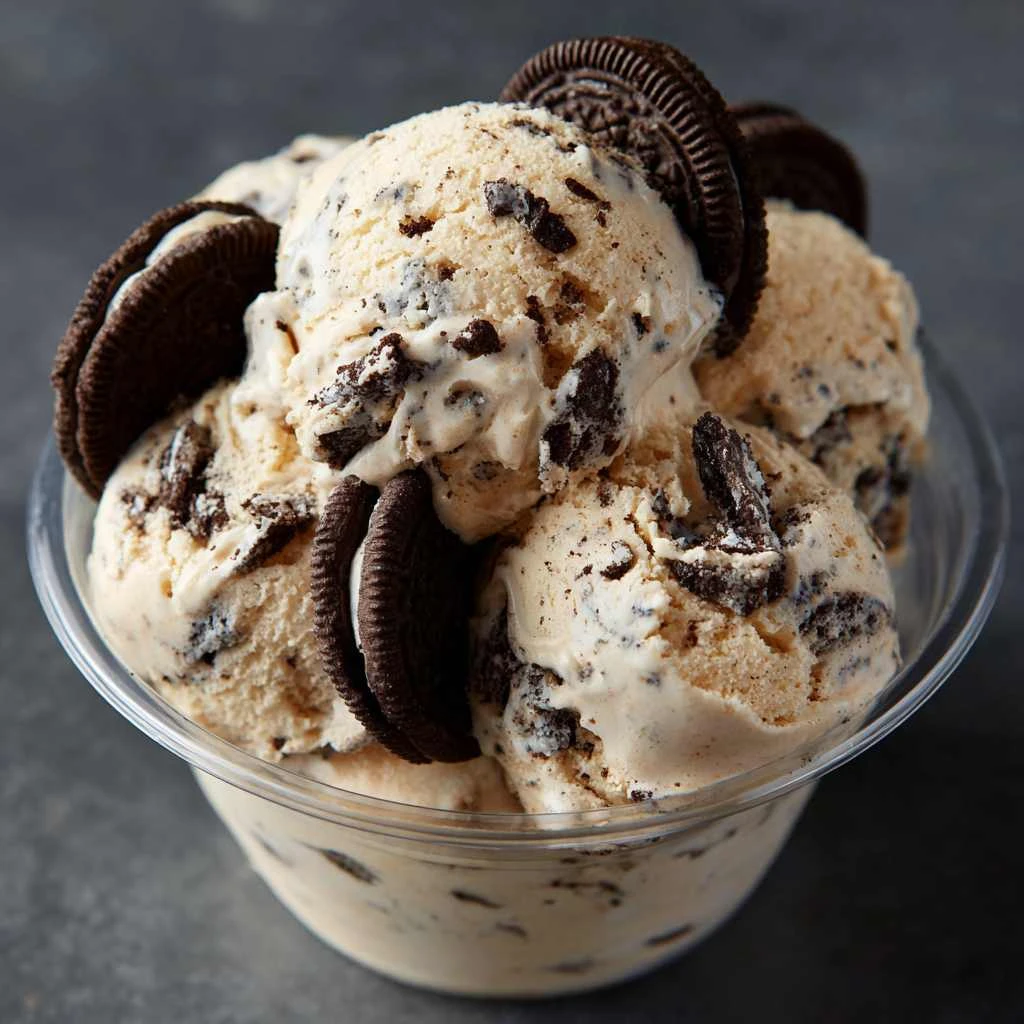
5. Serve the Oreo vanilla ice cream scoops in bowls or cones, garnishing with additional crushed Oreos for an extra crunch.
Pro Tip: For a more intense Oreo flavor, pulse the cookies in a food processor instead of crushing them by hand for finer crumbs that disperse evenly in the ice cream.
Expert Tips for Success
To achieve the perfect consistency in your Oreo vanilla ice cream, make sure that the ice cream maker bowl is thoroughly frozen before churning. A well-chilled base results in smoother and creamier ice cream.
When adding the crushed Oreos to the ice cream, do not overmix to retain distinct cookie pieces in every bite. A gentle fold into the base ensures a balanced distribution of chocolatey goodness throughout the dessert.
Avoid refreezing melted ice cream to prevent the formation of ice crystals. Store the ice cream in an airtight container to maintain its creamy texture and prevent freezer burn.
For a fun twist, experiment with different Oreo cookie flavors such as mint, peanut butter, or red velvet to create unique variations of Oreo vanilla ice cream that cater to diverse tastes.
Variations and Substitutions
For a vegan-friendly version of Oreo vanilla ice cream, substitute the heavy cream with coconut cream and the whole milk with almond milk. Use vegan Oreo cookies or homemade chocolate cookies for the crunchy element.
If you prefer a lighter option, opt for low-fat milk and reduce the amount of sugar in the recipe. You can also add chopped nuts or dried fruits for added texture and flavor complexity.
To elevate the richness of the dessert, drizzle caramel sauce, hot fudge, or fruit compote over the Oreo vanilla ice cream before serving. The sweet sauces complement the creamy base and add a touch of elegance to the presentation.
For a festive twist, incorporate seasonal ingredients such as crushed peppermint candies during the holidays or fresh berries during the summer months to create themed variations of Oreo vanilla ice cream that capture the essence of each season.
Serving Suggestions
To enhance the Oreo vanilla ice cream experience, serve the scoops in chilled dessert bowls garnished with a whole Oreo cookie on the side for a decorative touch. You can also drizzle chocolate syrup or sprinkle cocoa powder over the ice cream for an extra indulgent finish.
Pair this delectable dessert with a piping hot cup of coffee or a refreshing glass of milk for a classic combination that satisfies both your sweet and savory cravings. The contrast of temperatures and flavors creates a harmonious dining experience that is sure to impress your guests.
For a creative presentation, scoop the Oreo vanilla ice cream between two Oreo cookies to make homemade ice cream sandwiches that are perfect for parties, picnics, or casual gatherings. Customize the sandwiches with sprinkles, nuts, or mini chocolate chips for added flair.
Experiment with different serving vessels such as waffle cones, dessert cups, or mason jars to add a touch of whimsy to your dessert presentation. Encourage guests to customize their ice cream with a variety of toppings for a fun and interactive dessert bar.

FAQs
Q: Can I use reduced-fat ingredients in this recipe?
A: While you can substitute low-fat dairy products for a lighter version of Oreo vanilla ice cream, keep in mind that the texture and richness may vary slightly. Adjust the sugar content accordingly to maintain the desired sweetness level.
Q: How long can I store homemade Oreo vanilla ice cream?
A: Homemade ice cream is best consumed within 1-2 weeks for optimal freshness and flavor. Store the ice cream in a well-sealed container in the coldest part of your freezer to prevent crystallization.
Q: Can I make this recipe without an ice cream maker?
A: While an ice cream maker helps achieve a smoother texture, you can still make Oreo vanilla ice cream without one. Simply pour the mixture into a shallow dish, freeze for 30 minutes, then stir vigorously every 20-30 minutes until the desired consistency is reached.
Final Thoughts
Indulge in the pure bliss of homemade Oreo vanilla ice cream, a dessert that transcends time and brings joy to every spoonful. Whether you are savoring a solo treat or sharing it with loved ones, this recipe is a testament to the simple pleasures of life encapsulated in a frozen delight.
Embrace the art of ice cream making and unleash your creativity by experimenting with different flavors, toppings, and presentations. Let the luscious combination of Oreo cookies and vanilla ice cream transport you to a world of sweetness and satisfaction that lingers long after the last scoop is gone.
It’s time to whip up a batch of Oreo vanilla ice cream and create lasting memories with every scoop. So gather your ingredients, unleash your culinary prowess, and embark on a journey of flavor and fun that is sure to delight your taste buds and warm your heart.
Call to Action
Are you ready to dive into the world of homemade Oreo vanilla ice cream? Grab your apron, gather your ingredients, and let’s start churning up some frozen magic together. Share your Oreo ice cream creations with us and spread the joy of this delectable dessert with everyone you know!
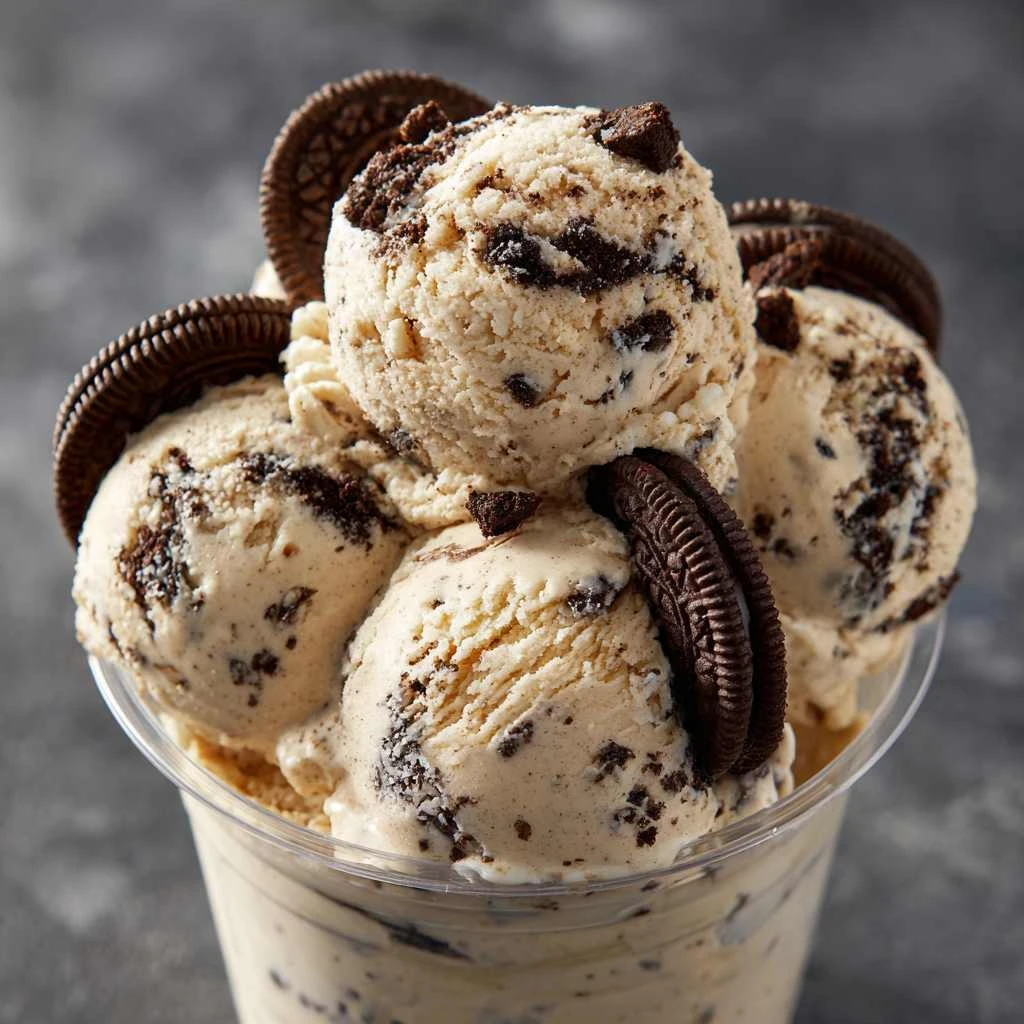
Oreo Vanilla Ice Cream
A delightful combination of crunchy Oreo cookies and creamy vanilla ice cream, creating a flavor explosion that is simply irresistible. Perfect for a sunny day or any occasion, this homemade treat is customizable and free from artificial additives. Indulge in a guilt-free dessert experience with this Oreo vanilla ice cream that promises to impress.
Ingredients
- 2 cups heavy cream
- 1 cup whole milk
- 3/4 cup granulated sugar
- 1 tablespoon pure vanilla extract
- 12 Oreo cookies, crushed
Directions
-
In a mixing bowl, whisk together the heavy cream, whole milk, sugar, and vanilla extract until the sugar is completely dissolved.
-
Pour the mixture into an ice cream maker and churn according to the manufacturer's instructions until it reaches a soft-serve consistency.
-
Add the crushed Oreo cookies to the ice cream during the last few minutes of churning, allowing them to mix evenly into the base.
-
Transfer the ice cream to a lidded container and freeze for at least 4 hours or until firm.
-
Serve the Oreo vanilla ice cream scoops in bowls or cones, garnishing with additional crushed Oreos for an extra crunch.