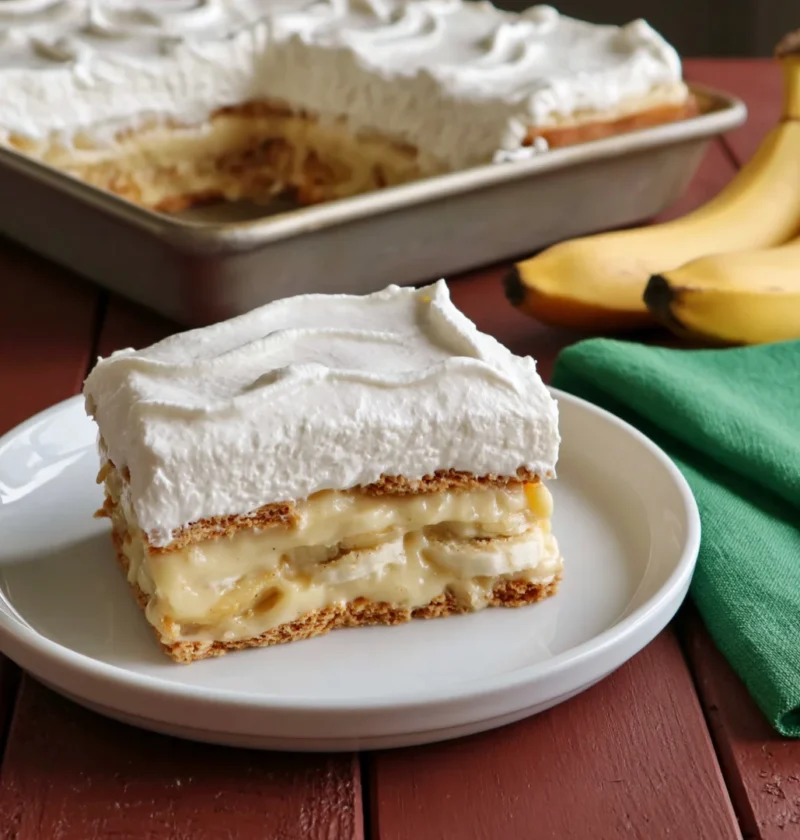
If you’re looking for a dessert that evokes nostalgia and brings smiles to faces, look no further than the delightful Banana Pudding Icebox Cake. This no-bake dessert combines creamy banana pudding with layers of vanilla wafers and fresh bananas, making it a perfect treat for warm summer days. Originating from the classic Southern banana pudding, this icebox cake version is a modern twist that requires no baking and is incredibly easy to assemble. The result is a chilled, luscious dessert that’s perfect for gatherings, family picnics, or simply satisfying your sweet tooth. The layering of flavors and textures creates a harmonious blend that will remind anyone of childhood desserts, making it not just a treat but an experience that resonates with fond memories. The beauty of this dish lies in its simplicity, yet it delivers a rich and satisfying taste that will leave everyone asking for seconds.
Ingredients
- For the Pudding Layer:
- 1 (5.1 oz) package instant vanilla pudding mix
- 2 cups milk (whole milk is recommended for creaminess; 2% can be used, but the texture will be lighter)
- 1 cup heavy whipping cream
- 1/4 cup powdered sugar
- 1 teaspoon vanilla extract
- For Layering:
- 3-4 ripe bananas, sliced (choose bananas that yield slightly when pressed; this ensures perfect sweetness and texture)
- 1 (12 oz) box vanilla wafers (select high-quality wafers for the best texture; cheaper varieties may become too soggy)
- For Topping:
- Extra whipped cream (for an indulgent finish, consider using homemade for richer flavor)
- Crushed vanilla wafers (optional, but adds a nice crunch and visual appeal)
When selecting your bananas, look for ones that are ripe but not overly brown to ensure optimal flavor. Fresh, high-quality ingredients will elevate your creamy banana icebox cake to new heights. The use of instant pudding mix expedites the process while still yielding a deliciously creamy consistency, making this dessert approachable for bakers of all levels. You can learn more about this topic and its variations, which can inspire you to get creative with flavors in your own kitchen.
Steps / Instructions
- Prepare the Pudding: In a medium bowl, whisk together the instant vanilla pudding mix and milk. Continue whisking for about 2 minutes until the mixture thickens. You should notice a creamy texture forming. Be sure to scrape the sides of the bowl to incorporate all the mix. Set aside.
- Make the Whipped Cream: In a separate bowl, combine heavy whipping cream, powdered sugar, and vanilla extract. Using a hand mixer, whip until soft peaks form, which should take about 3-4 minutes on medium-high speed. This adds airiness to your banana pudding layer, making it light and fluffy.
- Combine: Gently fold the whipped cream into the prepared pudding mixture until well blended. This creates a light and airy pudding that forms the base of your cake. Be careful not to overmix, as you want to maintain the fluffy texture that will perfectly complement the dense layers of wafers and bananas.
- Layer the Cake: In a 9×13 inch dish, spread a thin layer of the pudding mixture on the bottom. Follow with a layer of vanilla wafers and then a layer of banana slices. Repeat this process until all ingredients are used, finishing with a layer of pudding on top. Ensure that the banana slices are evenly distributed for balanced flavor in every bite. Consider using a spatula to smooth the pudding layer for a polished look.
- Chill: Cover the dish with plastic wrap and refrigerate for at least 4 hours, or overnight for better flavor and texture. This chilling time allows the wafers to soften and absorb the flavors, enhancing the overall taste of the dessert. The longer it chills, the creamier and more indulgent the flavors become.
- Serve: Before serving, top with additional whipped cream and sprinkle crushed vanilla wafers for an added crunch. Present the cake chilled for the best tasting experience. For a beautiful presentation, consider layering the extra whipped cream in a piping bag for decorative swirls.
Tips & Tricks
To ensure your no-bake banana pudding cake turns out perfectly: Check out our related guide for more tips. These insights will help you navigate any challenges you may encounter while making this delightful dessert.
- Make Ahead: This dessert is ideal for preparing ahead of time, as the flavors meld beautifully the longer it sits in the fridge. It’s perfect for busy days when you want a delicious treat ready to go. You can even prepare the pudding and whipped cream separately and layer them just before serving for maximum freshness.
- Keeping Bananas Fresh: To prevent bananas from browning too quickly, you can lightly toss them with a bit of lemon juice before layering. This not only helps with aesthetics but also keeps the bananas tasting fresh. If you prefer to avoid lemon, using slightly underripe bananas can also help maintain their color and texture.
- Storage: Store any leftovers in the refrigerator, covered, for up to 3 days. The wafers will soften over time, but the flavor remains delightful, making this dessert a great option for meal prep. Just remember that the texture will change, so enjoy it sooner rather than later for the best experience.
- Presentation: For a festive touch, consider garnishing with fresh mint leaves or chocolate shavings, which can add a pop of color and flavor contrast to the banana pudding icebox cake. A drizzle of chocolate sauce can also enhance the dessert’s visual appeal.
Conclusion
The Banana Pudding Icebox Cake embodies the sweet essence of summer while being effortless to prepare, making it a go-to dessert for any occasion. Whether you’re serving it at a picnic or enjoying it at home, it promises to be a hit with family and friends. Give this classic Southern treat a try, and watch it become a favorite in your dessert rotation! Each bite is a delightful experience that combines the comforting flavors of banana pudding with the fun twist of a cake, making it not just a dessert but a celebration of flavors. This dessert is sure to create lasting memories around the table, making it a cherished recipe for years to come.
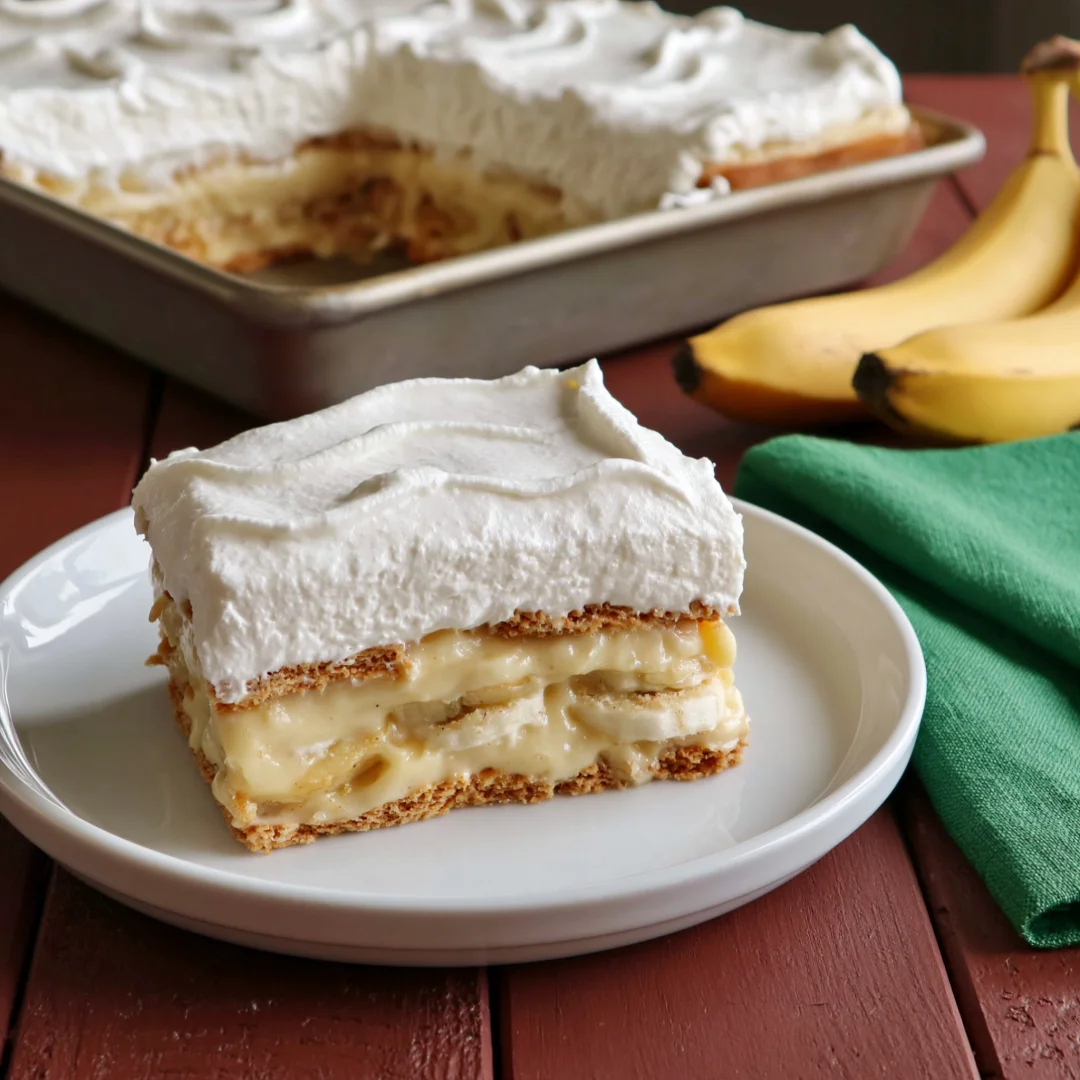
Banana Pudding Icebox Cake
A delightful no-bake dessert that combines creamy banana pudding with layers of vanilla wafers and fresh bananas, perfect for warm summer days.
Ingredients
- 1 (5.1 oz) package instant vanilla pudding mix
- 2 cups milk (whole milk recommended)
- 1 cup heavy whipping cream
- 1/4 cup powdered sugar
- 1 teaspoon vanilla extract
- 3-4 ripe bananas, sliced
- 1 (12 oz) box vanilla wafers
- Extra whipped cream (for topping)
- Crushed vanilla wafers (optional)
Directions
In a medium bowl, whisk together the instant vanilla pudding mix and milk for about 2 minutes until thickened.
In a separate bowl, combine heavy whipping cream, powdered sugar, and vanilla extract. Whip until soft peaks form, about 3-4 minutes.
Gently fold the whipped cream into the pudding mixture until well blended.
In a 9x13 inch dish, spread a thin layer of pudding, followed by a layer of wafers and banana slices. Repeat layers, finishing with pudding on top.
Cover with plastic wrap and refrigerate for at least 4 hours, or overnight for better flavor.
Before serving, top with additional whipped cream and crushed vanilla wafers.
Recipe Reviews
- ★★★★★
Excellent recipe!
Leave a Reply
Your email address will not be published. Required fields are marked *

Excellent recipe!