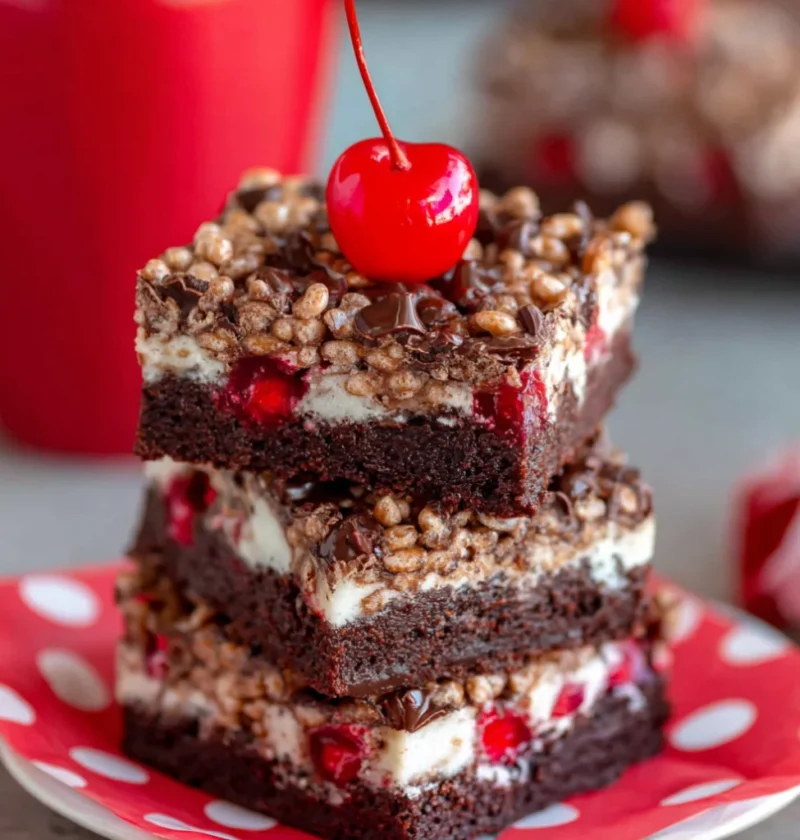
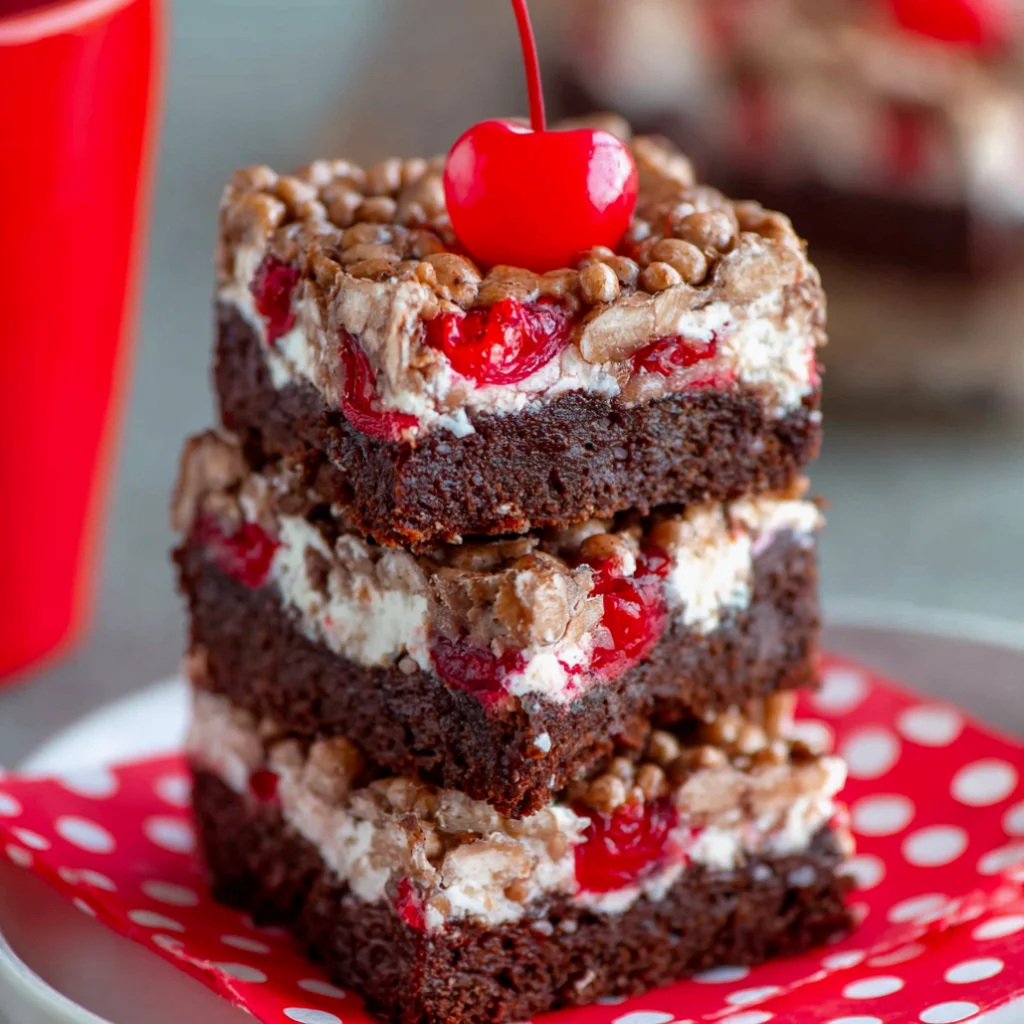
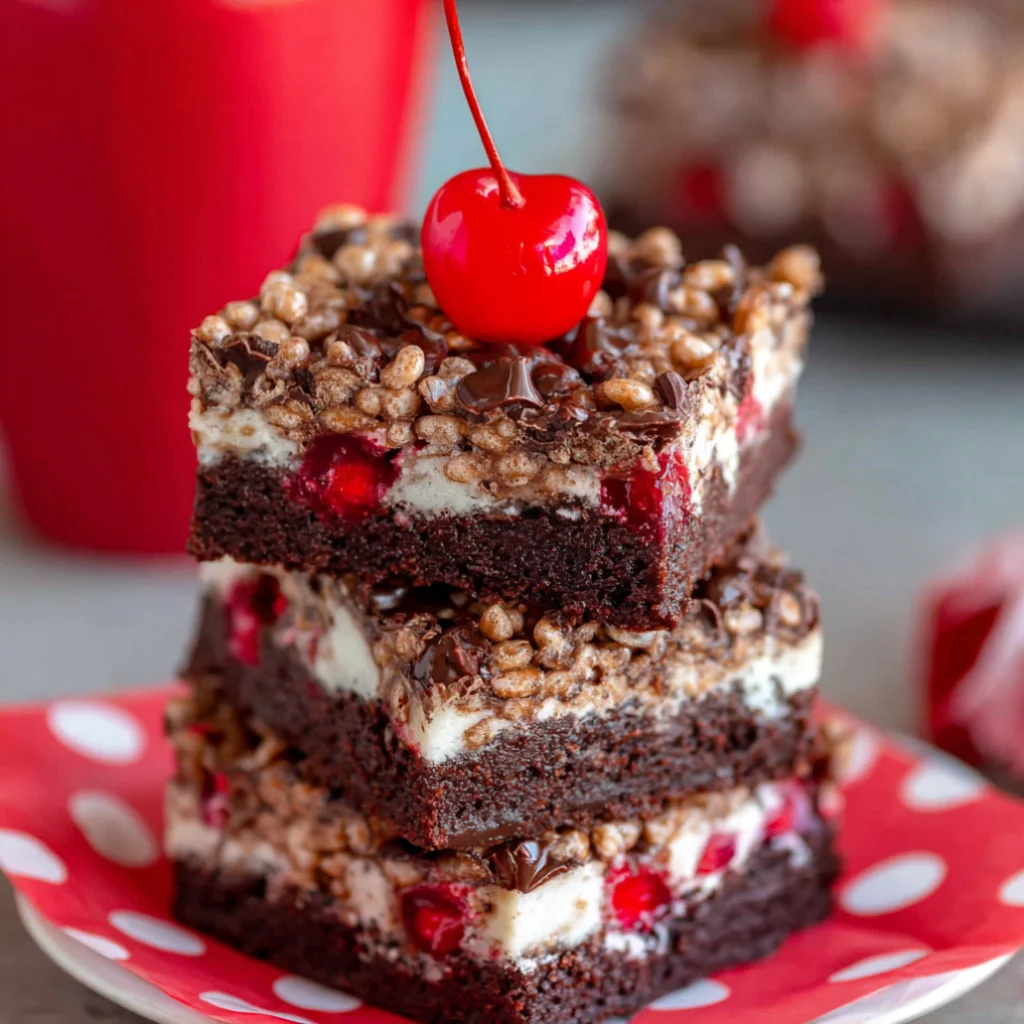
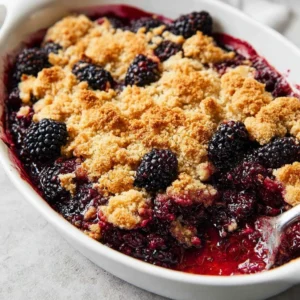
Indulge in a heavenly dessert experience with our Cherry Brownie Dream Bars. This delightful treat combines the rich, fudgy texture of homemade brownies with the sweet and tart flavor of cherries, creating a harmonious balance that will please any palate. Perfect for summer gatherings or cozy family evenings, these bars add a pop of color and a burst of flavor to your dessert table. The cherry chocolate flavor combination is a classic that never fails to impress, making these bars a must-try for cherry dessert lovers. Each bite brings a symphony of flavors that is both satisfying and refreshing, ensuring they will be a hit at any occasion. Whether you’re hosting a party or simply indulging in a sweet treat, these Cherry Brownie Dream Bars will elevate your dessert experience to new heights.
Ingredients
- For the Brownie Layer:
- 1 cup (2 sticks) unsalted butter
- 2 cups granulated sugar
- 4 large eggs
- 1 teaspoon vanilla extract
- 1 cup all-purpose flour
- 1 cup unsweetened cocoa powder
- 1/2 teaspoon salt
- 1 teaspoon baking powder
- For the Cherry Layer:
- 2 cups fresh or frozen cherries, pitted and halved
- 1/2 cup granulated sugar
- 1 tablespoon cornstarch
- 1 tablespoon lemon juice
- 1 teaspoon vanilla extract
- For the Topping:
- 1/2 cup semi-sweet chocolate chips
- 1 tablespoon coconut oil or butter
Steps / Instructions
- Preheat the Oven: Preheat your oven to 350°F (175°C). Grease a 9×13 inch baking pan or line it with parchment paper for easy removal. This will ensure that your Cherry Brownie Dream Bars come out perfectly without sticking to the pan.
- Prepare the Brownie Batter: In a medium saucepan, melt the butter over low heat. Once melted, remove from heat and stir in the sugar until combined. Allow the mixture to cool slightly before adding the eggs and vanilla extract, mixing until smooth. This step is crucial as adding eggs to a hot mixture can scramble them, affecting the texture of your brownies.
- Combine Dry Ingredients: In a large bowl, sift together the flour, cocoa powder, salt, and baking powder. Gradually fold the dry ingredients into the butter-sugar mixture until just combined. Do not overmix; the batter should be thick and fudgy. Overmixing can result in a less desirable chewy texture, so gently fold until you see no more dry flour.
- Spread in Pan: Pour the brownie batter into the prepared baking pan, spreading it evenly across the bottom with a spatula. This will create a nice, even base for the cherry layer to rest on, ensuring every bite has that perfect brownie foundation.
- Prepare the Cherry Filling: In a medium bowl, combine the cherries, sugar, cornstarch, lemon juice, and vanilla extract. Toss gently to coat the cherries evenly with the mixture. The cornstarch helps to thicken the juices released by the cherries during baking, preventing the bars from becoming soggy.
- Add Cherry Layer: Spoon the cherry mixture over the brownie batter, distributing it evenly across the surface. Use a spatula to gently press the cherries into the brownie mix. This ensures that the cherries are nicely incorporated and that every slice has a delicious burst of cherry.
- Bake: Bake in the preheated oven for 30-35 minutes. The edges should be firm, and a toothpick inserted in the center should come out with a few moist crumbs. Keep an eye on the time as ovens can vary, and you want to avoid overbaking, which can lead to a dry texture.
- Cool and Drizzle: Allow the brownie bars to cool completely in the pan. While they cool, prepare the chocolate drizzle by melting the chocolate chips with coconut oil in a microwave-safe bowl in 30-second intervals until smooth. Stir well after each interval to avoid burning the chocolate.
- Drizzle and Slice: Drizzle the melted chocolate over the cooled cherry brownie bars. Once set, slice into squares or bars and serve. For an added touch, consider sprinkling a bit of sea salt on top of the chocolate drizzle for a delightful sweet-salty contrast.
Tips & Tricks
- Storage: Store the Cherry Brownie Dream Bars in an airtight container in the refrigerator for up to 5 days. They can also be frozen for up to 3 months. Just thaw them in the fridge before serving to maintain their texture and flavor. To freeze, wrap each bar tightly in plastic wrap and then place them in a freezer-safe bag.
- Make-Ahead: You can prepare the brownie batter a day in advance and store it covered in the refrigerator. Just bring it to room temperature before baking. This can help enhance the flavors and save you time on the day you’re serving them.
- Avoid Overmixing: To achieve the fudgy texture characteristic of brownie bars, mix the batter only until the dry ingredients are just incorporated; overmixing can lead to a denser texture. Remember, it’s okay if there are a few small lumps; they will bake out during cooking.
- Cherry Substitutes: If cherries are out of season, you can substitute them with raspberries or blueberries for a similar sweet and tart flavor. You can also use canned cherries; just make sure to drain them well to avoid excess moisture. Experimenting with different berries can yield deliciously unique variations of your Cherry Brownie Dream Bars.
Conclusion
Don’t miss out on making these Cherry Brownie Dream Bars for your next gathering or cozy night in. With their rich chocolate and vibrant cherry flavors, they are sure to become a favorite dessert that will impress your friends and family. Enjoy this decadent treat and let us know how it turns out! You can learn more about this topic.
Cherry Brownie Dream Bars
Indulge in a heavenly dessert experience with our Cherry Brownie Dream Bars. This delightful treat combines the rich, fudgy texture of homemade brownies with the sweet and tart flavor of cherries, creating a harmonious balance that will please any palate.
Ingredients
- 1 cup (2 sticks) unsalted butter
- 2 cups granulated sugar
- 4 large eggs
- 1 teaspoon vanilla extract
- 1 cup all-purpose flour
- 1 cup unsweetened cocoa powder
- 1/2 teaspoon salt
- 1 teaspoon baking powder
- 2 cups fresh or frozen cherries, pitted and halved
- 1/2 cup granulated sugar
- 1 tablespoon cornstarch
- 1 tablespoon lemon juice
- 1 teaspoon vanilla extract
- 1/2 cup semi-sweet chocolate chips
- 1 tablespoon coconut oil or butter
Directions
Preheat your oven to 350°F (175°C). Grease a 9x13 inch baking pan or line it with parchment paper for easy removal.
In a medium saucepan, melt the butter over low heat. Once melted, remove from heat and stir in the sugar until combined. Allow the mixture to cool slightly before adding the eggs and vanilla extract, mixing until smooth.
In a large bowl, sift together the flour, cocoa powder, salt, and baking powder. Gradually fold the dry ingredients into the butter-sugar mixture until just combined.
Pour the brownie batter into the prepared baking pan, spreading it evenly across the bottom with a spatula.
In a medium bowl, combine the cherries, sugar, cornstarch, lemon juice, and vanilla extract. Toss gently to coat the cherries evenly.
Spoon the cherry mixture over the brownie batter, distributing it evenly across the surface.
Bake in the preheated oven for 30-35 minutes. The edges should be firm, and a toothpick inserted in the center should come out with a few moist crumbs.
Allow the brownie bars to cool completely in the pan. Prepare the chocolate drizzle by melting the chocolate chips with coconut oil in a microwave-safe bowl in 30-second intervals until smooth.
Drizzle the melted chocolate over the cooled cherry brownie bars. Once set, slice into squares or bars and serve.
Recipe Reviews
- ★★★★★
Excellent recipe!
Leave a Reply
Your email address will not be published. Required fields are marked *

Excellent recipe!