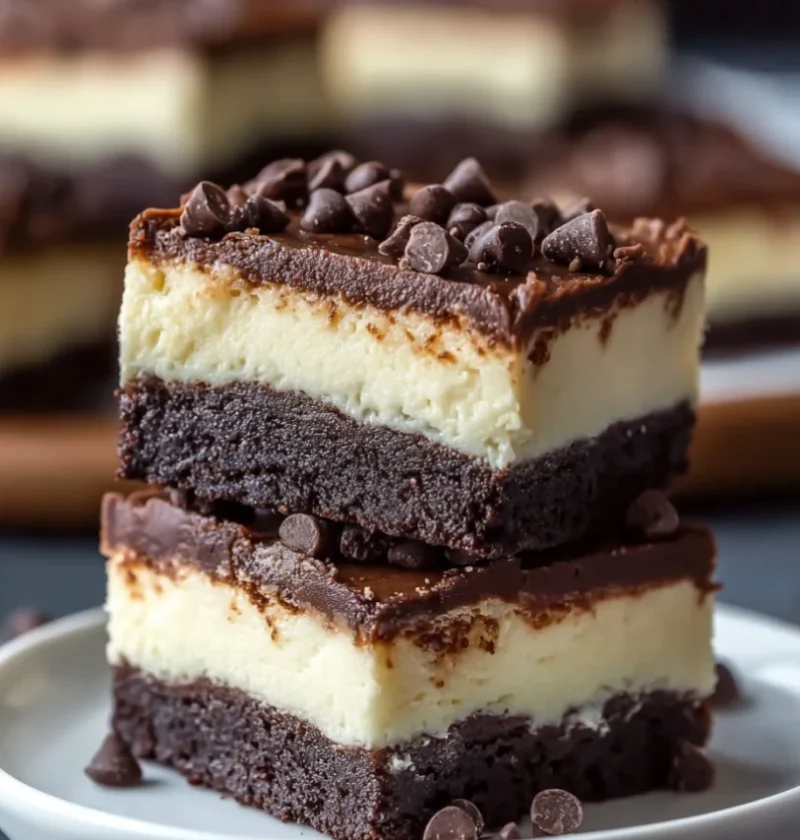
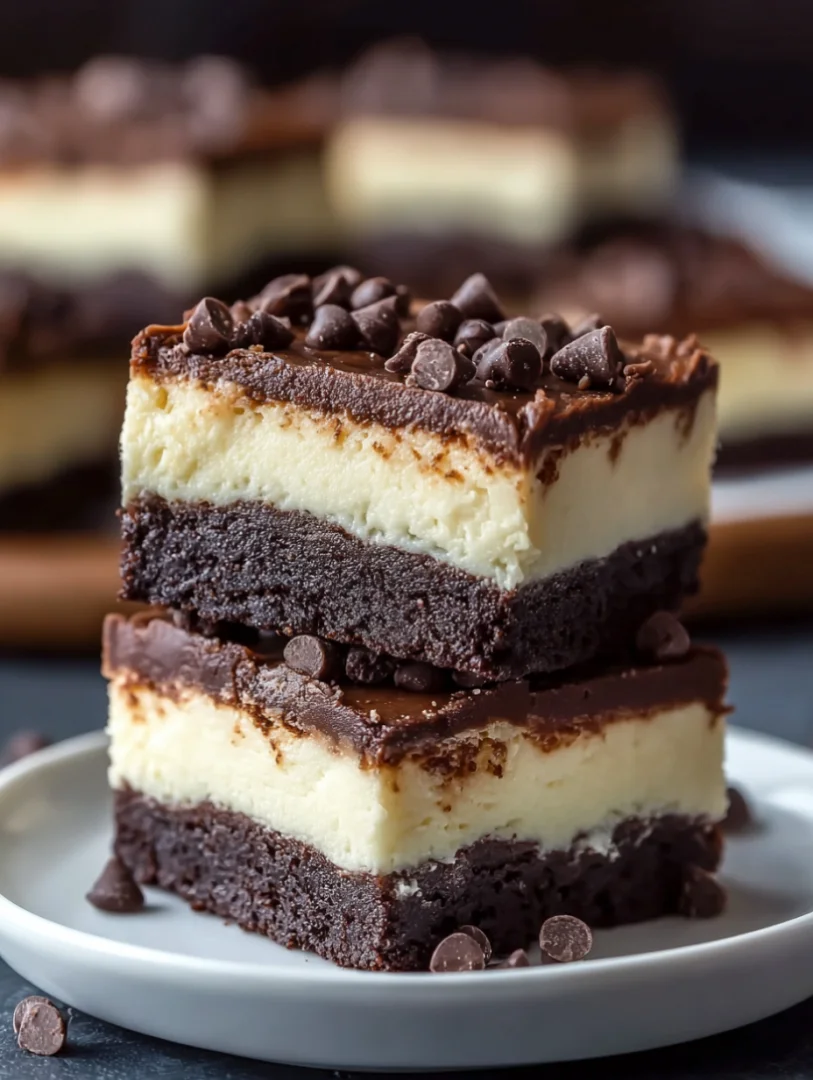
If you’re searching for a delectable dessert that satisfies your sweet tooth while keeping you on track with your low-carb lifestyle, look no further than Keto Cheesecake Brownies. These fudgy delights combine the rich flavors of chocolate brownies with a creamy cheesecake layer, creating a perfect marriage of textures and tastes. Ideal for those who crave the sweet indulgence without the guilt, this recipe is a game changer for keto enthusiasts and dessert lovers alike. The rich cocoa and creamy cheesecake complement each other beautifully, making each bite a delightful experience that will have you coming back for more.
The combination of almond flour and cream cheese not only provides a gluten-free alternative but enhances the overall flavor profile, ensuring each bite is a heavenly experience. The almond flour adds a nutty richness that contrasts wonderfully with the sweetness of the chocolate, while the cream cheese contributes a luscious creaminess that balances the chocolate’s intensity. Whether you’re hosting a gathering, celebrating a special occasion, or simply want to treat yourself, these brownies are sure to impress everyone with their decadent appeal. You can learn more about this topic, including the health benefits of keto-friendly desserts and tips for low-carb baking that make indulgence possible without straying from your dietary goals.
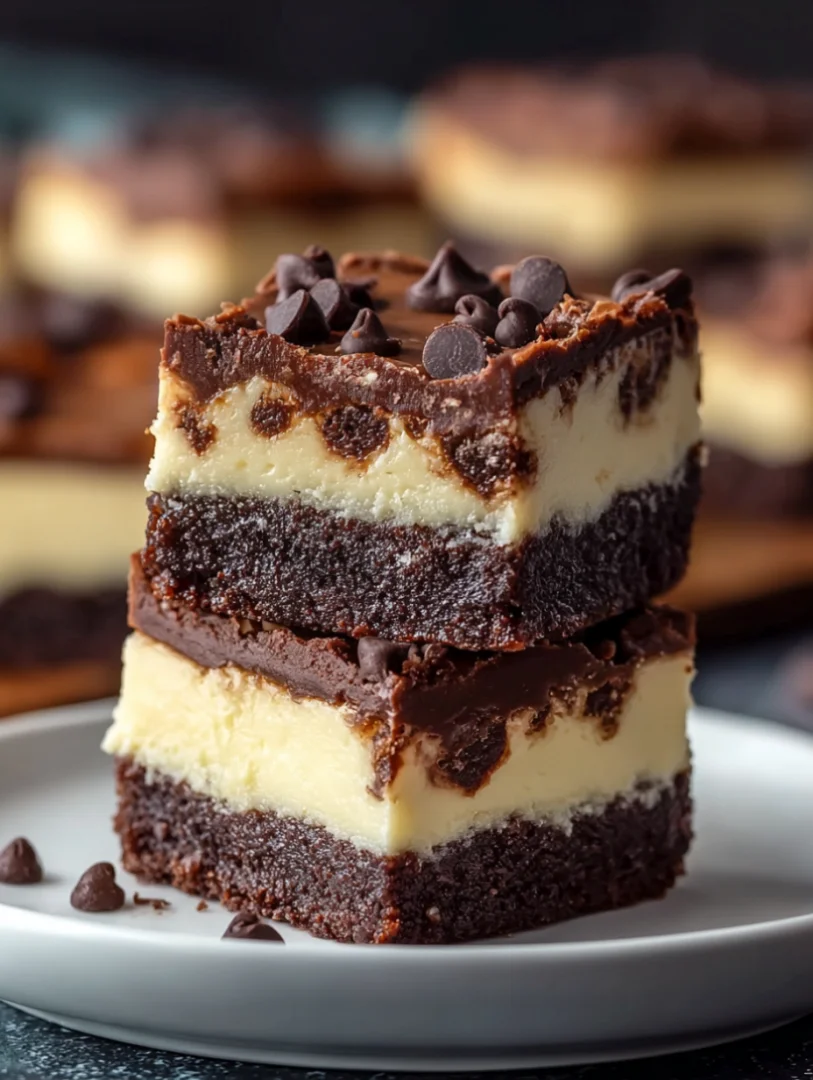
Table of Contents
Ingredients
- For the brownie base:
- 1 cup almond flour – a key ingredient that keeps these brownies gluten-free and adds a lovely texture; the finer the grind, the better the mouthfeel.
- 1/2 cup unsweetened cocoa powder – ensures a rich chocolate flavor without extra sugar; be sure to use high-quality cocoa for the best results.
- 1/2 cup erythritol (or your preferred sweetener) – choose a granulated version for the best texture; adjust sweetness to your preference, keeping in mind that some sweeteners are sweeter than sugar.
- 1/4 cup unsalted butter, melted – provides moisture and richness to the brownie base; using unsalted butter allows for better control of the overall saltiness.
- 2 large eggs – bind the ingredients together and contribute to the fudgy consistency; using room temperature eggs helps achieve a smoother batter.
- 1 tsp vanilla extract – adds a hint of warmth and depth to the flavor, enhancing the overall taste profile of the brownies.
- 1/2 tsp baking powder – helps the brownies rise slightly for a perfect texture; too much can make them cake-like, which we want to avoid.
- 1/4 tsp salt – enhances the sweetness and balances flavors; don’t skip this as it really elevates the overall taste.
- 8 oz cream cheese, softened – ensure it’s at room temperature for a smooth mixture; helps achieve that creamy texture we all love in cheesecake.
- 1/4 cup erythritol (or your preferred sweetener) – again, choose a granulated sweetener for the best results; taste the mixture before baking to adjust sweetness if needed.
- 1 large egg – helps to set the cheesecake layer during baking; incorporating it well will lead to a more uniform texture.
- 1 tsp vanilla extract – complements the cheesecake flavor beautifully, adding a delightful aromatic touch.
Steps / Instructions
- Preheat the oven: Preheat your oven to 350°F (175°C) and line an 8×8 inch baking dish with parchment paper for easy removal. This step prevents sticking, allowing for clean, even squares. Make sure the edges are covered to prevent any brownie batter from seeping out.
- Prepare the brownie base: In a mixing bowl, combine the almond flour, cocoa powder, erythritol, melted butter, eggs, vanilla extract, baking powder, and salt. Mix until well combined and smooth, ensuring there are no lumps. This mixture should be thick and glossy, perfect for creating that fudgy base.
- Spread brownie batter: Pour the brownie mixture into the prepared baking dish, spreading it evenly across the bottom. Use a spatula to ensure an even layer helps with even cooking; the layer should be about 1/2 inch thick for optimal texture.
- Make the cheesecake layer: In another bowl, beat the softened cream cheese until smooth. Add the erythritol, egg, and vanilla extract, mixing until the mixture is creamy and free of lumps. The texture should be velvety and thick, indicating it’s well combined.
- Layer the cheesecake: Pour the cheesecake mixture over the brownie base and gently spread it out evenly. Use a knife or a toothpick to swirl it slightly for a marbled effect, creating a beautiful visual appeal and blending flavors that will tantalize your taste buds.
- Bake: Place the baking dish in the oven and bake for 25-30 minutes, or until the edges are set and the center has a slight jiggle. Keep an eye on them as baking times may vary based on your oven; a toothpick inserted in the center should come out mostly clean but with a few moist crumbs.
- Cool: Allow the brownies to cool in the pan for about 10 minutes before transferring them to the refrigerator to chill for at least 2 hours. This helps them set properly and enhances the flavor as the ingredients meld together, making each bite even more enjoyable.
- Slice and serve: Once chilled, slice into squares and serve. Enjoy your Keto Cheesecake Brownies as a satisfying dessert or a special treat any time! You can also dust with unsweetened cocoa powder or serve with fresh berries for a vibrant touch that adds both color and flavor.
Tips & Tricks
- Storage: Store any leftover brownies in an airtight container in the refrigerator for up to one week. They can also be frozen for up to three months, making them perfect for meal prep; just thaw them in the refrigerator when you’re ready to enjoy.
- Make ahead: You can prepare the brownie base in advance and layer the cheesecake on the day you plan to serve them. This allows the flavors to develop, enhancing the overall taste; chilling overnight can intensify the flavors even more.
- Common mistakes: Ensure the cream cheese is at room temperature to avoid lumps in your cheesecake layer. Overbaking can also lead to dry brownies, so keep an eye on them! A toothpick inserted in the center should come out with a few moist crumbs, indicating a perfect bake.
- Swaps: If you don’t have erythritol, you can use other sweetener substitutes for baking such as stevia or monk fruit sweetener—just adjust for sweetness accordingly. Experiment with the sweetness level to find your perfect balance; different sweeteners can yield different tastes.
Variations and Substitutions
You can make plain keto brownies by leaving off the cheesecake layer. Some recipes use dark chocolate or sugar-free chocolate chips for a more intense chocolate flavor.
If you want a richer dessert, add walnuts or pecans. For a slightly different texture, some recipes lean more brownie-heavy while others emphasize the cheesecake swirl.
Serving Suggestions
Serve these brownies chilled or at room temperature with coffee or almond milk. Because they’re dense and rich, small squares are usually enough.
They also make a strong make-ahead dessert because they store well in the fridge and freeze nicely. That makes them a practical option for low-carb entertaining.
FAQs
Can I freeze keto cheesecake brownies?
Yes, they freeze well after cooling.
What sweetener works best?
Recipes commonly use Swerve or monk fruit blends, and confectioners-style sweetener is often preferred for the cheesecake layer.
Can I make them without the swirl?
Yes, the cheesecake layer can be omitted for plain keto brownies.
Final Thoughts
Keto Cheesecake Brownies are a smart dessert choice when you want something rich, creamy, and chocolatey without the sugar load. They deliver the classic brownie-cheesecake combination in a low-carb format that still feels indulgent.
Pro Tips
- Use softened cream cheese.
- Don’t overbake.
- Chill before slicing.
- Add chocolate chips for extra richness.
Common Mistakes
- Using cold cream cheese.
- Overbaking the brownies.
- Substituting coconut flour.
- Cutting before fully cooled.
Call to Action
Try these Keto Cheesecake Brownies when you want a guilt-free dessert that still tastes decadent. They’re fudgy, creamy, and perfect for satisfying a chocolate craving.
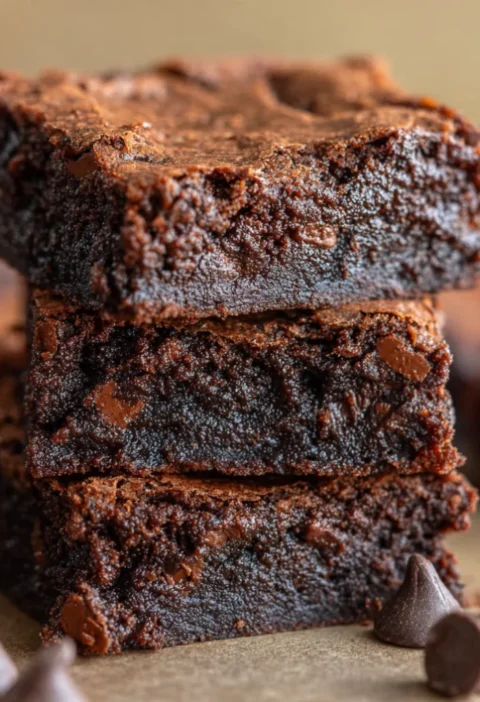
Keto Cheesecake Brownies
Indulge in guilt-free delights with these fudgy brownies that combine the rich flavors of chocolate with a creamy cheesecake layer.
Ingredients
- 1 cup almond flour
- 1/2 cup unsweetened cocoa powder
- 1/2 cup erythritol (or your preferred sweetener)
- 1/4 cup unsalted butter, melted
- 2 large eggs
- 1 tsp vanilla extract
- 1/2 tsp baking powder
- 1/4 tsp salt
- 8 oz cream cheese, softened
- 1/4 cup erythritol (or your preferred sweetener)
- 1 large egg
- 1 tsp vanilla extract
Directions
Preheat your oven to 350°F (175°C) and line an 8x8 inch baking dish with parchment paper.
In a mixing bowl, combine the almond flour, cocoa powder, erythritol, melted butter, eggs, vanilla extract, baking powder, and salt. Mix until smooth.
Pour the brownie mixture into the prepared baking dish and spread it evenly across the bottom.
In another bowl, beat the softened cream cheese until smooth. Add the erythritol, egg, and vanilla extract, mixing until creamy.
Pour the cheesecake mixture over the brownie base and gently spread it out evenly.
Bake for 25-30 minutes, or until the edges are set and the center has a slight jiggle.
Allow the brownies to cool in the pan for about 10 minutes before transferring them to the refrigerator to chill for at least 2 hours.
Once chilled, slice into squares and serve.
Nutrition Facts
Recipe Reviews
- ★★★★★
Excellent recipe!
Leave a Reply
Your email address will not be published. Required fields are marked *


Excellent recipe!