Introduction
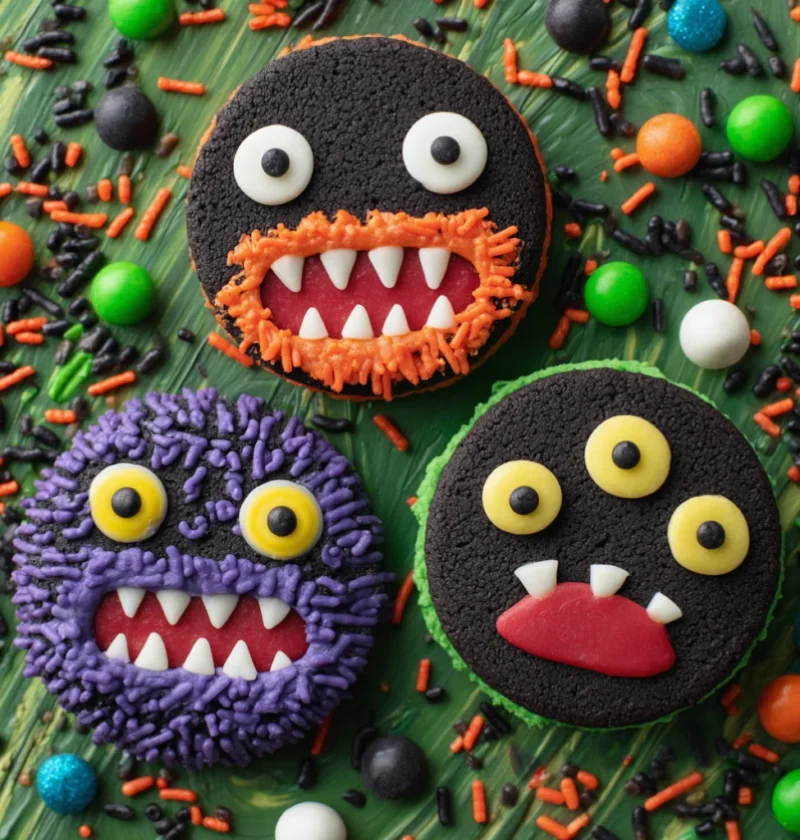
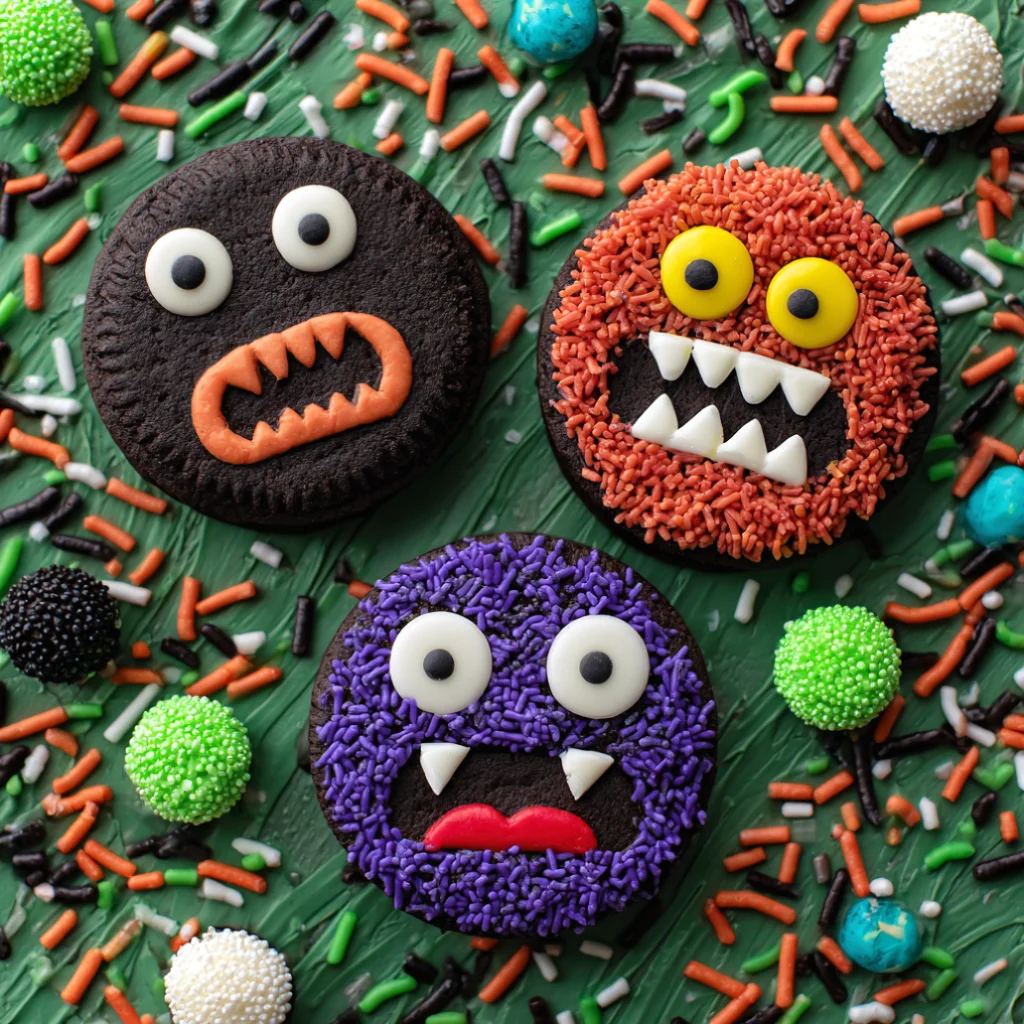
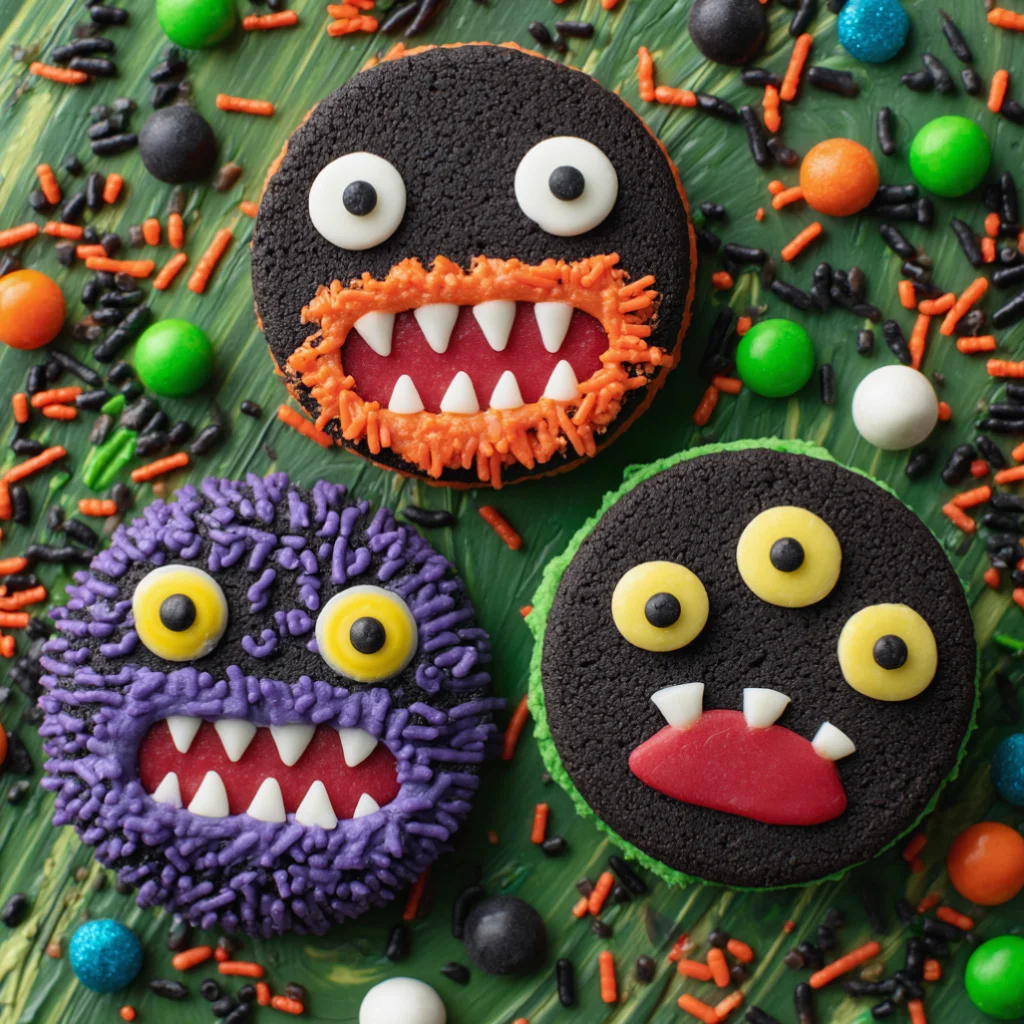
As the spooky season approaches, there’s no better way to celebrate than with a delightful batch of Monster Mash Bark. This Halloween candy bark is a fun, festive treat that’s perfect for any Halloween party or gathering. Imagine a colorful canvas of chocolate decorated with an array of toppings that resemble the playful chaos of a monster’s wardrobe. From white chocolate to sweet and salty goodies, this bark is a creative blend of flavors and textures that both kids and adults will adore. Not only is it a breeze to make, but it also offers an opportunity for creativity and family bonding in the kitchen. Whether you’re a seasoned baker or a novice, this recipe will guide you through crafting a spooky dessert that’s sure to impress! Moreover, the vibrant colors and whimsical toppings make it a visual delight as well as a sweet one, perfect for bringing a touch of Halloween magic to your dessert table. The dish’s origin can be traced back to the traditional chocolate barks enjoyed during various festive occasions, with this version tailored specifically for Halloween fun. The playful name “Monster Mash Bark” evokes images of mythical creatures and adds an extra layer of excitement to the cooking experience. It’s the perfect treat to involve kids, allowing them to express their creativity with colorful candies and sprinkles, each piece telling its own monster story. Additionally, the bark makes a great conversation starter at gatherings, with its eye-catching presentation and the delightful surprise of different textures and flavors hidden within every bite.
Ingredients
- Base:
- 12 oz semisweet chocolate chips – Look for high-quality chocolate chips to ensure a rich, deep flavor in your bark. The better the chocolate, the more satisfying the final product will be.
- 12 oz white chocolate chips – Opt for a brand that melts smoothly, creating a perfect canvas for marbling with the dark chocolate. A smooth melt also aids in achieving a beautiful swirl pattern.
- Toppings:
- 1 cup candy eyeballs – These add a fun, spooky element to the bark and are readily available in the baking aisle during Halloween. Their eerie appearance is sure to captivate the imagination of little ones and adults alike.
- 1 cup pretzel sticks, broken into pieces – They provide a satisfying crunch and a touch of saltiness that complements the sweetness of the chocolate. Opt for unsalted pretzels if you prefer a slightly less salty contrast.
- 1 cup assorted Halloween candies (e.g., candy corn, mini marshmallows) – Choose your favorites to add color and variety. Selecting a mix of chewy and crunchy candies ensures a delightful textural experience.
- 1/2 cup colorful sprinkles – Select Halloween-themed colors like orange, black, and purple for an extra festive touch. These sprinkles can be star-shaped, bat-shaped, or any design that matches your Halloween theme.
- 1/4 cup crushed Oreos – These cookies add a delightful cookie-and-cream flavor, enhancing the overall taste and giving a nod to classic cookie flavors.
- Optional:
- Sea salt for a sweet and salty bark – Just a sprinkle can elevate the flavors by balancing the sweetness with a hint of salt. If using sea salt, consider a flaky variety for added texture.
Steps / Instructions
- Prepare the Baking Sheet: Line a large baking sheet with parchment paper, ensuring it covers the entire surface to prevent sticking. This step is crucial as it makes it easier to remove the bark once it’s set, maintaining its shape and structure. Make sure the parchment paper extends beyond the edges of the baking sheet for easy removal of the bark.
- Melt the Chocolate:
- In a microwave-safe bowl, melt the semisweet chocolate chips in 30-second intervals, stirring after each, until smooth and fully melted. Be cautious not to overheat; the chocolate should look glossy and smooth. Stirring frequently prevents the chocolate from burning, ensuring a silky texture.
- Repeat the process with the white chocolate chips in a separate bowl. Ensure each chocolate type is melted separately to maintain distinct flavors. This separation is key to achieving the marbled effect when combining the chocolates.
- Spread the Chocolate: Pour the melted semisweet chocolate onto the prepared baking sheet, spreading it into an even layer using a spatula. Aim for a thickness of about 1/4 inch for optimal texture. Ensure that the chocolate layer is even to avoid thin spots that might break easily.
- Add the White Chocolate: Drizzle the melted white chocolate over the dark chocolate base, using a toothpick or knife to create a marbled effect. The marbling technique adds a beautiful visual element, making each piece unique. Work quickly while the chocolate is still warm to achieve a smooth swirl.
- Decorate: Quickly scatter the candy eyeballs, pretzel pieces, Halloween candies, and colorful sprinkles over the chocolate. Ensure an even distribution for a vibrant look. Press the toppings gently into the chocolate to ensure they stick as it sets. Adding the toppings quickly is crucial so they adhere properly before the chocolate cools too much.
- Chill: Transfer the baking sheet to the refrigerator and allow the bark to set for about 30 minutes or until firm. This step ensures the chocolate hardens and the toppings adhere properly. If you’re short on time, placing the bark in the freezer can speed up the setting process.
- Break into Pieces: Once set, remove the bark from the refrigerator and break it into irregular pieces. Enjoy your homemade Halloween treats! The irregular shapes add to the fun and whimsical nature of the bark, making each piece a surprise. Store any leftovers in an airtight container to maintain freshness and crunch.
Tips & Tricks
For the best results, use high-quality chocolate chips to ensure a smooth, creamy texture. When melting the chocolate, be careful not to overheat it, as this can cause it to seize. If you’re making this bark ahead of time, store it in an airtight container in a cool place for up to a week. You can also freeze the chocolate bark recipe for longer storage. To avoid common mistakes, ensure that the chocolate is adequately melted and that toppings are added quickly before the chocolate sets. Experiment with creative bark toppings to personalize your Monster Mash Bark. Try using different tools like a spoon or a piping bag for more precise chocolate drizzling, and consider layering different types of chocolate for a multi-dimensional flavor. When storing, separate layers with parchment paper to prevent sticking. Remember, the key to a perfect bark is in the preparation and timing; work swiftly to ensure toppings adhere before the chocolate hardens. To add a professional touch, consider tempering your chocolate for a glossy finish, which also helps the bark to snap more cleanly when broken.
Variations
Get creative with your spooky dessert recipes by trying different variations! For a vegan option, use dairy-free chocolate chips and vegan marshmallows. To make it gluten-free, ensure all candies and toppings are certified gluten-free. For a nutty twist, sprinkle chopped nuts over the top. You can even experiment with white chocolate bark variations by using different colors of candy melts for a festive touch. Check out our related guide for more tips. For an added flavor boost, consider adding a few drops of peppermint or orange extract to the melted chocolate. If you’re a fan of spicy-sweet combinations, a dash of cayenne pepper or cinnamon can add an unexpected kick. For those who love a fruitier taste, dried cranberries or raisins can be mixed in for a chewy texture that contrasts with the crunch of the candy and pretzels. Another fun variation is to incorporate crushed graham crackers for a s’mores-inspired treat, providing a nostalgic flavor twist that complements the Halloween theme.
Serving Suggestions
Serve your Monster Mash Bark as an easy Halloween party snack or a delightful dessert at the end of a meal. Pair it with a glass of homemade lemonade for a refreshing contrast to its sweetness. For a complete party spread, consider serving alongside Ninja Creami Strawberry Ice Cream, which complements the colorful candy bark perfectly. Arrange the bark pieces on a decorative platter, and scatter additional sprinkles for an impressive presentation that captures the essence of monster-themed sweets. To elevate the Halloween theme, use themed tableware like spider-web serving trays or pumpkin-shaped bowls. Additional garnishes, such as shredded coconut dyed green to resemble monster grass, can add a unique element to the presentation. For a drink pairing, a warm cup of hot cocoa or a chilled glass of apple cider would work beautifully with the rich chocolate flavors. Consider hosting a Halloween movie night and serving the bark alongside popcorn and other themed snacks for a complete festive experience.
FAQ
Can I make the bark without a refrigerator? Yes, you can let it set at room temperature if your kitchen is cool. However, it will take longer to firm up. If room temperature setting is your only option, ensure the area is free from humidity which can affect the texture of the chocolate. In warmer climates, refrigerating may be necessary to keep the chocolate from becoming too soft.
What if my chocolate seizes? If the chocolate becomes thick and grainy, try adding a teaspoon of vegetable oil and stir until smooth. You can also try gently reheating the chocolate in short intervals, stirring in between, to coax it back to a smooth consistency. If all else fails, use the seized chocolate for other recipes like cookie fillings or as a hot chocolate mix base.
Can I use different candies? Absolutely! Feel free to customize with any of your favorite candies or even seasonal sweets. Just ensure that any substitutions still offer a variety of textures and flavors to maintain the delightfully chaotic experience of Monster Mash Bark. For a festive twist, use candies that align with current holidays or events, such as red and green candies for Christmas or pastels for Easter. Tailoring the candy selection to match the occasion makes the bark a versatile treat for any celebration.
Conclusion
Creating Monster Mash Bark is not only a fun culinary adventure but also a delightful addition to your list of festive chocolate bark recipes. With its vibrant colors and playful elements, it’s a sweet treat that brings joy to any spooky celebration. Whether you’re planning a Halloween bash or just want to enjoy some monster-themed sweets, this colorful candy bark is your go-to option. Try it today and let your creativity run wild! Embrace the spirit of the holiday and involve family and friends in the process, making it a memorable activity filled with laughter and creativity. This recipe not only satisfies a sweet tooth but also serves as a canvas for imaginative designs and flavor combinations, ensuring that no two barks are ever the same! By sharing the bark with friends and neighbors, you spread the joy of Halloween, making it a communal experience. The ease of preparation and the ability to customize make it an ideal project to explore culinary creativity, celebrating the whimsical and playful spirit of the holiday.
Monster Mash Bark
A fun and festive Halloween treat, Monster Mash Bark combines semisweet and white chocolate with an array of colorful toppings, creating a delicious and visually appealing dessert perfect for spooky season celebrations.
Ingredients
- 12 oz semisweet chocolate chips
- 12 oz white chocolate chips
- 1 cup candy eyeballs
- 1 cup pretzel sticks, broken into pieces
- 1 cup assorted Halloween candies (e.g., candy corn, mini marshmallows)
- 1/2 cup colorful sprinkles
- 1/4 cup crushed Oreos
- Optional: Sea salt for a sweet and salty bark
Directions
Prepare the Baking Sheet: Line a large baking sheet with parchment paper.
Melt the Chocolate: In a microwave-safe bowl, melt the semisweet chocolate chips in 30-second intervals, stirring after each, until smooth.
Repeat the process with the white chocolate chips in a separate bowl.
Spread the Chocolate: Pour the melted semisweet chocolate onto the prepared baking sheet, spreading it into an even layer.
Add the White Chocolate: Drizzle the melted white chocolate over the dark chocolate base, using a toothpick or knife to create a marbled effect.
Decorate: Quickly scatter the candy eyeballs, pretzel pieces, Halloween candies, and colorful sprinkles over the chocolate.
Chill: Transfer the baking sheet to the refrigerator and allow the bark to set for about 30 minutes or until firm.
Break into Pieces: Once set, remove the bark from the refrigerator and break it into irregular pieces.
Recipe Reviews
- ★★★★★
Excellent recipe!
Leave a Reply
Your email address will not be published. Required fields are marked *


Excellent recipe!